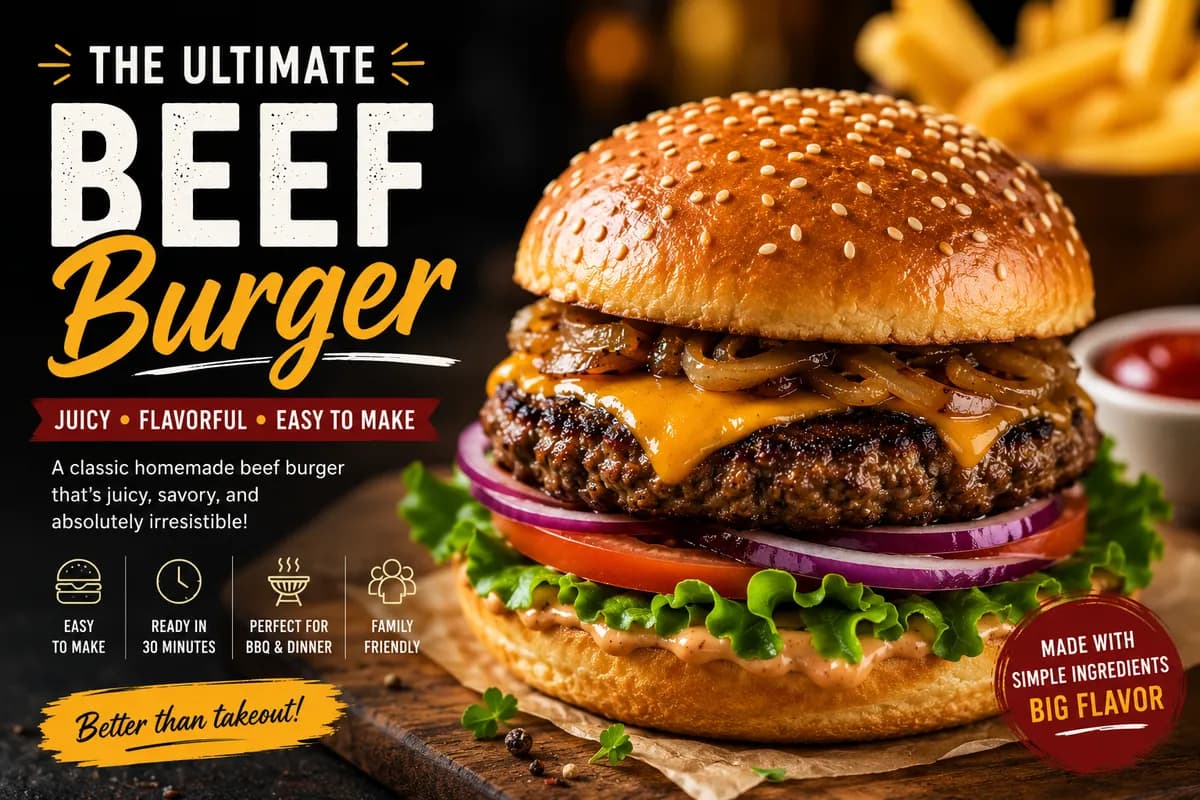
Beef Burger
The Story
A great beef burger starts with a simple principle: respect the meat. When you use quality 80/20 ground chuck and handle it gently, the result is a juicy, deeply seared patty that rivals anything from a restaurant kitchen. This recipe strips away the fuss and focuses on the fundamentals that actually matter — cold meat, minimal handling, high heat, and one flip.
Quick Summary
There is a quiet, profound comfort in a properly made beef burger. It is not just "fast food"; when you respect the ingredients, it is a masterclass in texture and flavor. This guide helps you craft a high-protein, satisfying burger using 80/20 ground chuck, emphasizing heat control and minimal handling to achieve that elusive, juice-filled crust. Whether you are fueling a recovery meal or hosting a weekend gathering, this recipe provides the blueprint for the perfect patty.
The Art of the Everyday Burger
I’ve spent years in kitchens large and small, and I’ve learned that the most iconic dishes are often the simplest. A burger isn't a complex puzzle to be solved; it’s a tactile experience. When you stand at the stove, listening to the aggressive, rhythmic sizzle of fat hitting a hot cast-iron skillet, you are doing more than cooking. You are honoring the quality of the beef.
Many people shy away from beef in their wellness journey because they fear the calorie count, but I see it differently. When you pair a high-quality, pasture-raised beef patty with fresh, seasonal toppings, you are creating a nutrient-dense meal that provides sustained energy and essential micronutrients. The key is in the preparation—we want the beef to remain the hero, not the grease.
Ingredients
- 1.5 lbs ground chuck: An 80/20 lean-to-fat blend is the gold standard for the perfect balance of flavor and moisture.
- 1 tsp kosher salt: Coarse grain helps with even seasoning distribution without over-salting.
- 1/2 tsp freshly cracked black pepper: For a clean, pungent bite.
- 1/2 tsp garlic powder: Adds a subtle savory undertone.
- 1/2 tbsp cold, unsalted grass-fed butter: Optional, placed on top of the cooked patty for a rich, steakhouse-style finish.
- 4 high-quality brioche or sourdough burger buns: Toasted in the pan drippings.
Nutritional Science & Benefits
Beef is a powerhouse of nutrition when sourced correctly. Ground chuck provides a complete amino acid profile, essential for muscle protein synthesis and recovery after a workout.
- Zinc & Selenium: Critical for immune function and metabolic health.
- Vitamin B12: Essential for nerve tissue health and brain function.
- Heme Iron: Highly bioavailable, which helps maintain energy levels and fights fatigue.
- Fatty Acids: When choosing 80/20, you ensure the inclusion of healthy saturated fats that support hormone production.
Step-by-Step Method
- Keep it Cold: Keep your meat in the refrigerator until the very second you are ready to shape your patties. Cold fat doesn't smear during handling, which keeps the burger juicy from the inside out.
- Gentle Shaping: Divide your 1.5 lbs of meat into four equal portions. Gently form them into rounds about an inch thick. Do not pack the meat tightly; think of it as a loose collection of beef fibers. Overworking the meat is the fastest way to get a rubbery, dense burger.
- The Thumbprint Trick: Use your thumb to make a deep indentation in the center of each patty. As the burger hits the heat, the proteins contract and pull toward the center. This little divot ensures the burger remains flat rather than bowing into a dome.
- Seasoning: Keep it simple. Sprinkle your salt, pepper, and garlic powder generously over the exterior just before cooking. If you salt too early, the texture can become "cured" or ham-like.
- The Sear: Preheat your cast-iron skillet over medium-high heat until it is nearly smoking. Place your patties in. Let them cook undisturbed for 4 minutes. Patience is your best friend here. That deep, dark mahogany crust is where the flavor lives. Flip once and cook for another 3 to 4 minutes.
Stewart's Culinary Coaching Tips
Never, and I mean never, press down on your burger with a spatula while it cooks. It is the most common mistake home cooks make. When you press down, you are essentially squeezing the life out of the meat, forcing all those precious juices to evaporate into the air rather than staying in your burger. Let the heat do the work. If you need to check for doneness, use a digital meat thermometer—aiming for 160°F—rather than sacrificing the juices.
Meal Prep & Storage Guide
If you want to get ahead, you can portion your raw beef into patties, separate them with parchment paper, and freeze them in a sealed container for up to three months. When you're ready to eat, cook them directly from frozen—just add 2-3 minutes to the cooking time per side.
For leftovers, store cooked patties in an airtight container for up to three days. To reheat without drying them out, place them in a cold pan with a teaspoon of water and cover with a lid over low heat. The steam will gently warm the center without overcooking the edges.
Flavor Variations
The Herb-Infused Patty
Mix a tablespoon of finely chopped fresh parsley or chives directly into the meat for a bright, aromatic lift.
The Low-Carb Swap
Skip the bun and serve your patty inside two thick, crispy slices of iceberg lettuce or atop a bed of sautéed balsamic kale.
The Mediterranean Twist
Mix a teaspoon of dried oregano and a pinch of lemon zest into the meat, and top with a dollop of tzatziki rather than traditional condiments.
More Protein-Rich Recipes
If you enjoy this burger, explore more high-protein recipes from NutriGuide:
- For a leaner alternative, try our Perfectly Grilled Sirloin Steak — same cast-iron technique, different cut.
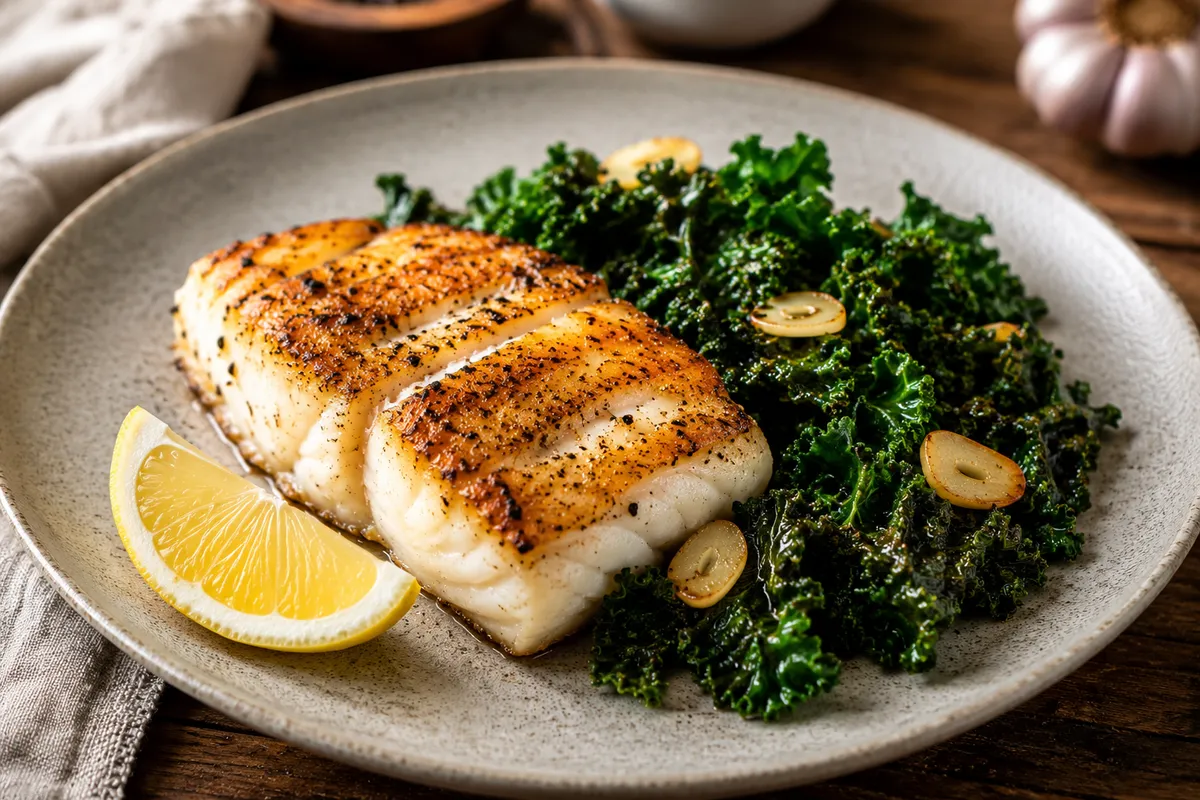
- Pair your burger with our Pan-Seared White Fish with Garlic Sautéed Kale for a lighter fish-and-greens night.
- Looking for plant-based protein? Our Golden Turmeric Scrambled Tofu is perfect for meatless mornings.
- Learn how red meat fits into a heart-healthy diet in our guide to foods that naturally support arterial health.
Common Burger Mistakes (And How to Fix Them)
- Pressing the patty with a spatula: This squeezes out all the juices. Let the heat do the work and flip only once.
- Using meat that's too lean: 90/10 or 95/5 ground beef dries out before the crust forms. Stick with 80/20 for the best balance of flavor and moisture.
- Overworking the meat: The more you handle the beef, the tougher the patty. Shape gently — it should barely hold together.
- Cooking on a cold pan: The skillet must be screaming hot before the patty goes in. A cold pan steams the meat instead of searing it.
- Salting too early: If you salt ground beef and let it sit, osmosis draws moisture out and the proteins cross-link, creating a sausage-like texture. Season right before cooking.
Ingredient Substitutions
| Original Ingredient | Healthy Alternative |
|---|---|
| Ground chuck (80/20) | Ground turkey (93/7) or ground bison for a leaner option with similar texture |
| Burger buns | Lettuce wraps (keto), gluten-free buns, or toasted portobello mushroom caps |
| Cold butter | Ghee (lactose-free) or skip entirely for a dairy-free version |
| Garlic powder | 2 cloves fresh minced garlic mixed into the meat for a stronger, sharper flavor |
A 20-minute cast-iron beef burger recipe using 80/20 ground chuck. Learn the cold-meat method, thumbprint trick, and one-flip searing technique for the juiciest homemade burger patties.
Key Takeaways
- ✓Vetted recipe compliant with a balanced beef burger recipe dietary lifestyle.
- ✓Vetted recipe compliant with a balanced homemade burger dietary lifestyle.
- ✓Vetted recipe compliant with a balanced cast iron burger dietary lifestyle.
- ✓Excellent source of high-quality protein to support muscle synthesis and recovery.
Beef Burger
A 20-minute cast-iron beef burger recipe using 80/20 ground chuck. Learn the cold-meat method, thumbprint trick, and one-flip searing technique for the juiciest homemade burger patties.
Macro Nutrition Profile (Per Serving)
Ingredients
Ingredient Substitutions
| Original Ingredient | Healthy Alternative |
|---|---|
| Animal protein | Firm tofu, tempeh, or organic chickpeas |
| Cooking fat | Extra virgin olive oil or grass-fed butter |
Instructions
Keep it Cold: Keep your meat in the refrigerator until the very second you are ready to shape your patties. Cold fat doesn't smear during handling, which keeps the burger juicy from the inside out.
Gentle Shaping: Divide your 1.5 lbs of meat into four equal portions. Gently form them into rounds about an inch thick. Do not pack the meat tightly; think of it as a loose collection of beef fibers. Overworking the meat is the fastest way to get a rubbery, dense burger.
The Thumbprint Trick: Use your thumb to make a deep indentation in the center of each patty. As the burger hits the heat, the proteins contract and pull toward the center. This little divot ensures the burger remains flat rather than bowing into a dome.
Seasoning: Keep it simple. Sprinkle your salt, pepper, and garlic powder generously over the exterior just before cooking. If you salt too early, the texture can become "cured" or ham-like.
The Sear: Preheat your cast-iron skillet over medium-high heat until it is nearly smoking. Place your patties in. Let them cook undisturbed for 4 minutes. Patience is your best friend here. That deep, dark mahogany crust is where the flavor lives. Flip once and cook for another 3 to 4 minutes.
Tried this recipe?
Let us know how it turned out! Click a star below to leave a review and rate the recipe.
Storage & Freezing Tips
- Refrigerator: Store leftovers in an airtight container for up to 3-4 days.
- Reheating: Heat in a saucepan or skillet on medium heat until hot throughout.
- Freezing: Freeze portions in airtight containers for up to 2 months. Reheat directly from frozen or after thawing.
Frequently Asked Questions
Can this recipe be prepared ahead of time?▼
Yes, this meal is excellent for weekly meal prep. Store components separately and assemble before serving.
Is this recipe gluten-free?▼
All ingredients used are naturally gluten-free. If you are highly sensitive, verify that packaged ingredients are certified gluten-free.
Tried this recipe?
Tag @stewartlucas on Instagram and hashtag it #nutriguide!
You Might Also Like

Stewart Lucas
Nutritionist & Recipe DeveloperStewart Lucas is a nutritionist and recipe developer representing the NutriGuide team. All recipes, nutritional values, and diet protocols published on this site are designed and audited by certified dietitians and clinical nutrition professionals to guarantee absolute accuracy.
Community Reviews
Please log in to leave a review.